
Sharing AWS data with collaborators
Published:
I’ve recently become our lab’s AWS sysadmin, and my first task is to give our collaborators access to some of our data. In this post, I’ll briefly go over how I set that up and explain the different options that our collaborator has to access the data.
For the admin
First, I’ll go through the steps I took on my end to set up my collaborators.
Setting up for new collaborators
Our collaborators are in the process of setting up their own computational infrastructure, so they theoretically won’t need to have access to our AWS account for very long. Also, there’s lots of data in our lab that’s not relevant to what we’re working on, and which I’d like to keep separate from this work. Thus, I decided to:
- Create a new bucket to store only data for this project
- Create a new user called
underworlds_user, which can be used by all of our collaborators on this project- After you create the user, you can go get their password and secret access key. Make sure you write these down somewhere, because you’ll only get them once! (Oh, the thrill!)
- Also make a note of the
https://<account>.signin.aws.amazon.com/consolesign-on link that’s provided
- Create a policy which gives this
underworlds_userpermission to:- View all of our buckets
- View files in our lab-wide (e.g. not project-specific buckets which may contain slightly more sensitive or valuable data)
- View and download files in the underworlds bucket
- Change their own password
The final policy looks like:
{
    "Version": "2012-10-17",
    "Statement": [
        {
            "Sid": "VisualEditor0",
            "Effect": "Allow",
            "Action": "s3:ListBucket",
            "Resource": [
                "arn:aws:s3:::other.public.bucket1",
                "arn:aws:s3:::other.public.bucket2",
                "arn:aws:s3:::underworlds.bucket"
            ]
        },
        {
            "Sid": "VisualEditor1",
            "Effect": "Allow",
            "Action": [
                "iam:GetAccountPasswordPolicy",
                "s3:ListAllMyBuckets",
                "s3:HeadBucket",
                "s3:ListObjects",
                "iam:ChangePassword"
            ],
            "Resource": "*"
        },
        {
            "Sid": "VisualEditor2",
            "Effect": "Allow",
            "Action": [
                "s3:ListBucketByTags",
                "s3:GetLifecycleConfiguration",
                "s3:GetBucketTagging",
                "s3:GetInventoryConfiguration",
                "s3:GetObjectVersionTagging",
                "s3:ListBucketVersions",
                "s3:GetBucketLogging",
                "s3:GetAccelerateConfiguration",
                "s3:GetBucketPolicy",
                "s3:GetObjectVersionTorrent",
                "s3:GetObjectAcl",
                "s3:GetBucketRequestPayment",
                "s3:GetObjectVersionAcl",
                "s3:GetObjectTagging",
                "s3:GetMetricsConfiguration",
                "s3:GetIpConfiguration",
                "s3:ListBucketMultipartUploads",
                "s3:GetBucketWebsite",
                "s3:GetBucketVersioning",
                "s3:GetBucketAcl",
                "s3:GetBucketNotification",
                "s3:GetReplicationConfiguration",
                "s3:ListMultipartUploadParts",
                "s3:GetObject",
                "s3:GetObjectTorrent",
                "s3:GetBucketCORS",
                "s3:GetAnalyticsConfiguration",
                "s3:GetObjectVersionForReplication",
                "s3:GetBucketLocation",
                "s3:GetObjectVersion"
            ],
            "Resource": [
                "arn:aws:s3:::underworlds.bucket/*",
                "arn:aws:s3:::underworlds.bucket"
            ]
        }
    ]
}
Once I did all this, I logged into our AWS console (via the link that I got when I grabbed the passwords) as the new user, and checked that I could change the password successfully and view/not view download/not download the right buckets and objects.
Giving access to collaborators
Next, I sent my collaborator an email with her user sign-on info (including the password but NOT including the Secret Access Key - I’m super paranoid and don’t want to send this via email ever, so I’ll be Skyping her later this week to give it to her then. For local collaborators, you can just give them the file on USB key or something). I also sent her a link to this post.
For the collaborators
Next, I’ll go through the basic steps to get your collaborator set up and ready to download data. I’m switching to the second person now, assuming that the person reading is a collaborator who’s been newly given access to an S3 bucket (Hi Saja!).
Accessing the data
To download data from the bucket that you now have access to, you have two options:
- Via the AWS console (the online GUI that you can access by logging in at
https://<account>.signin.aws.amazon.com/console) - Via the AWS command line tools
Using the AWS console is nice because it’s easy to navigate around files and buckets and quickly see what’s there in a user-friendly way. It’s not great to download lots of files or do anything programmatically (it is a GUI, after all).
The AWS command line tools are great for downloading lots of files and interacting with the S3 object the way you’d interact with any files in a terminal. Some cons are that the learning curve is slightly higher, you’ll need to configure these tools to give them access to the buckets, and the functions are a little more cumbersome and slower than normal command line functions.
Using the console
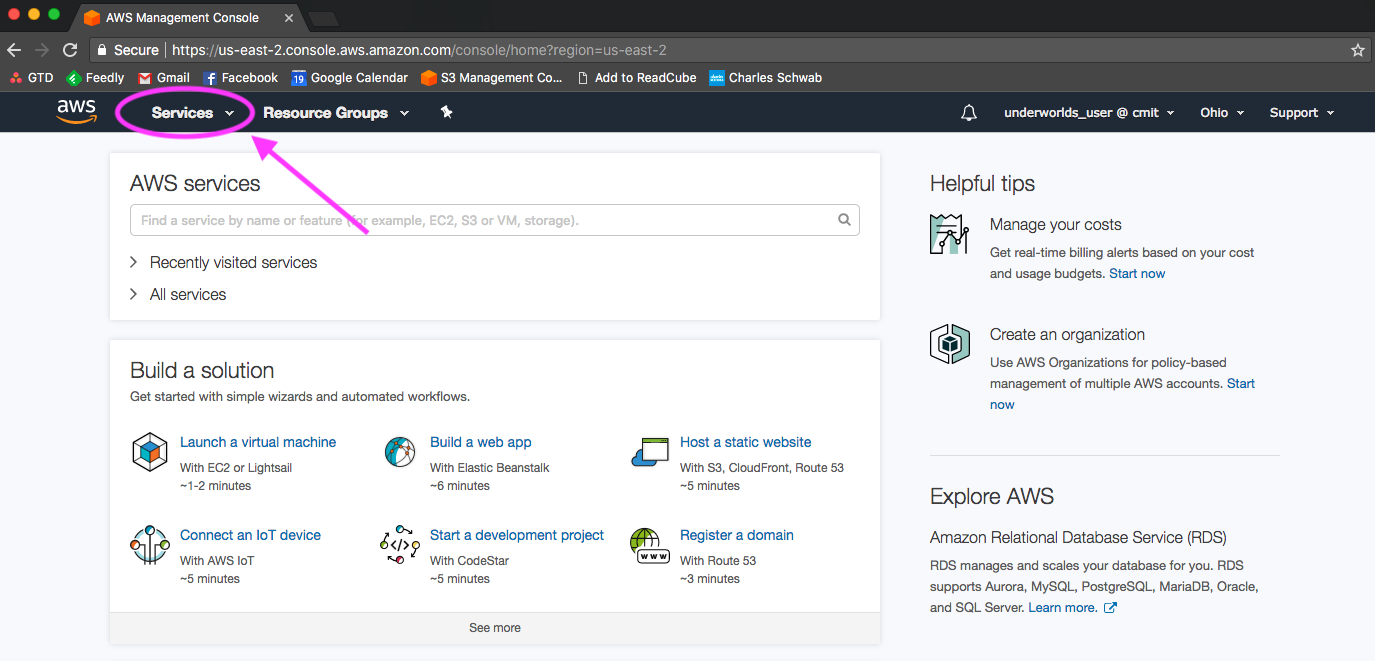
Using the username and password info provided to you by the admin (me), go to the login in link and log in. Then, go to the top left and click on Services and under Storage click on S3.
Here, you should be able to see all of the buckets associated with the overall account. If you click around, you’ll get a lot of Access denied errors because the policy that you are on only allows you to see our project’s bucket and a few other non-private buckets that we use in lab.
If you click on the project bucket (in our case here, underworlds.bucket), you’ll see a list of folders (or “objects”, in AWS-speak) that you can navigate through. As far as I can tell, you can only download individual files and not full directories. It also seems like you can only download files one at a time (see here and here).
To download multiple files at once or an entire folder recursively, you’ll need to use the AWS command line tools (AWS CLI). In general, I’ve found the AWS documentation for the command line interface pretty good.
I remember these tools to be fairly straightforward to install on linux or macOS. I once briefly tried installing it on a PC and can’t remember exactly what I ended up going with: I think I ended up not being able to figure out how to configure access and permissions with PowerShell and instead downloaded the normal aws cli tools in my cygwin terminal. That said, if you’re not on a unix system yet, you should really switch over ASAP. Future computational biologist you will thank present you for it!
Anyway, once you’ve got the command line tools downloaded you’ll just need to configure your access to S3. Here, again, the AWS documentation is pretty good (though it’s a very simple process: just type in aws configure and follow the prompts).
Don’t follow any of the directions in the documentation about getting access keys, since that will be provided by your admin (me). Something very important to note is that you should never share your access keys with the internet (for example, by putting them in a script that you push to github) - hackers will find them and it can cost us lots of money.
Once you’ve run aws configure, you should be able to download files from the bucket, either one by one (using aws s3 cp) or folder-wise (using either aws s3 cp --recursive or aws s3 sync).
For example:
aws s3 sync s3://underworlds.bucket/data_folder target_folder
One final pro-tip: I really recommend always running your AWS commands with --dryrun before running them for real. AWS CLI is much less user-friendly than native bash commands (i.e. no tab-complete, sensitive to backslashes when it interprets whether something is a file or a directory, etc) so it’s always smart to do a dry run first and make sure it’s doing what you want.